In this guide, you are going to learn the basics from how to generate WooCommerce pdf invoices & packing slips using our plugin to how to customize them and create other kinds of templates. If you are new to the plugin this is a good place to start.
Installing the PDF Invoice Plugin
If you want to use the free version follow these steps:
1.- Go to your WordPress dashboard and click on plugins/add new
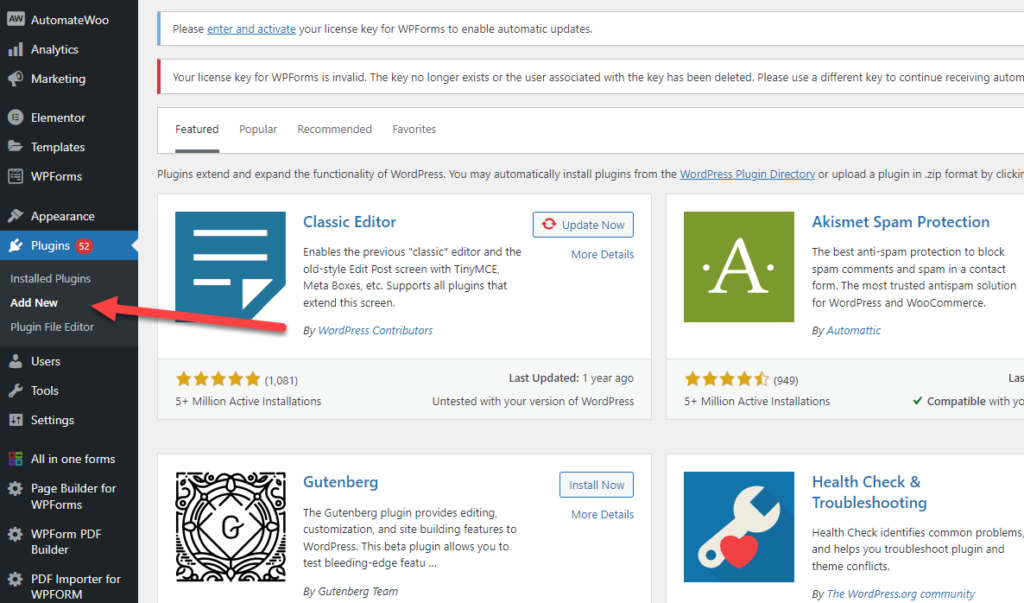
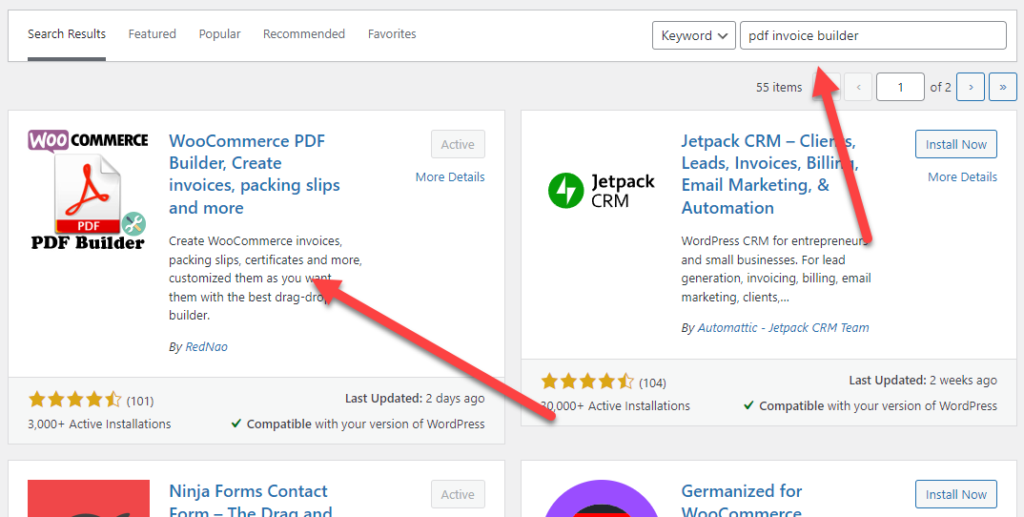
2.- Search for the text “PDF Invoice Builder” and install the plugin WooCommerce PDF Builder
That’s it! now your plugin is ready to generate your invoices and packing slips.
Alternatively, you can download the plugin directly from the WordPress.org site
If you are using the full version you can follow this guide to install the plugin
Creating a pdf invoice
By default, once you install the plugin it will create an invoice template and will attach it automatically to the “Completed Order” emails but every pdf invoice is fully customizable, you can change it (you can pick another design or create your own with the drag and drop builder) and even the way it is sent in the WooCommerce emails so you could, for example, create a different design for different products or customers.
To create or edit your invoice do the following:
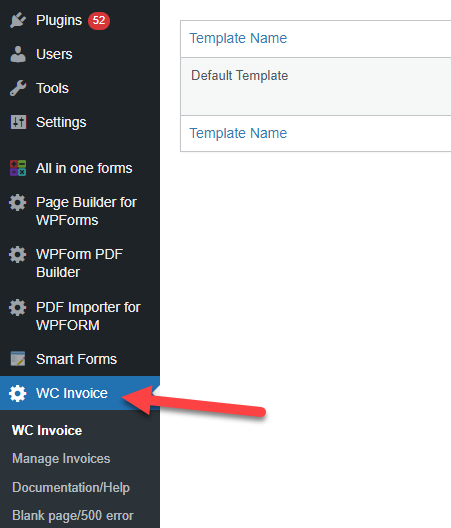
1.- Click in WC Invoice
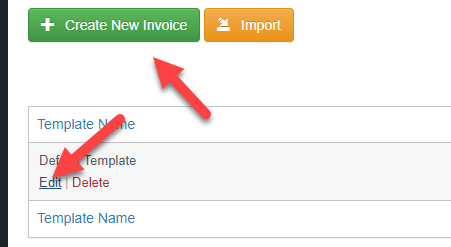
2.- Click in edit or “Create new Invoice” to modify or create a template
You can also view or download additional designs on the pdf invoice builder demo page
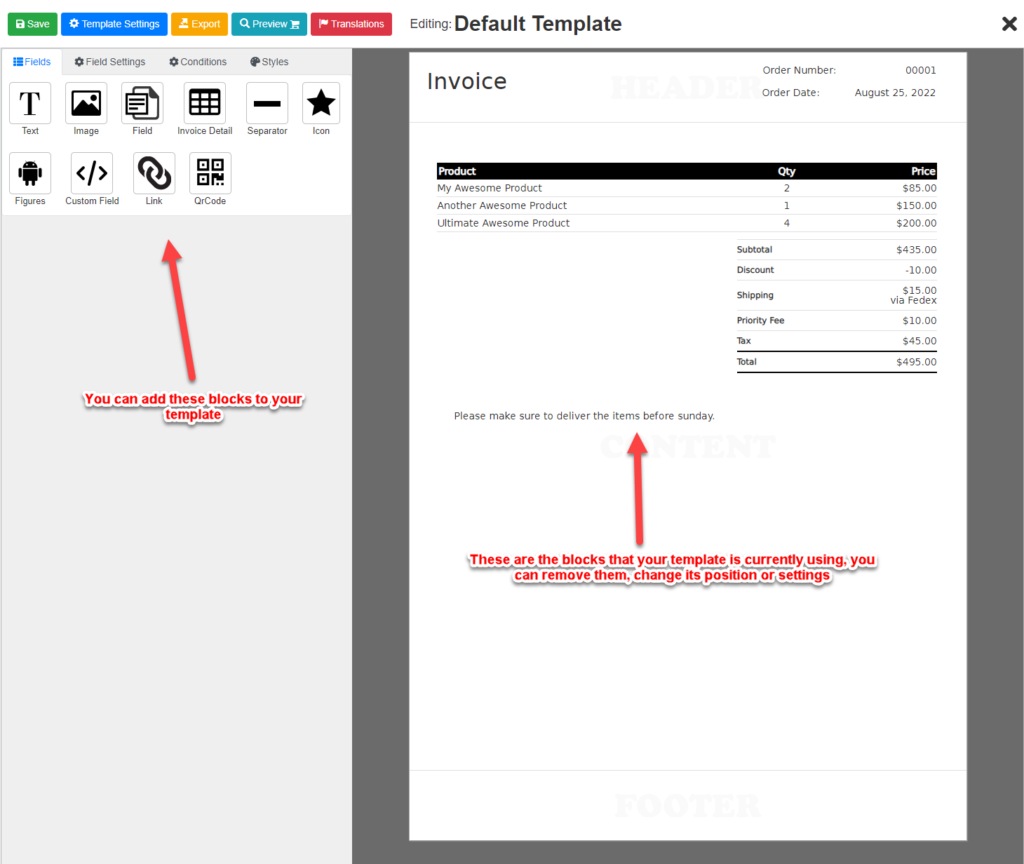
3.- Edit your design
Inside the template editor, you can view add or edit additional blocks to your template. For example, you could add another image, change the invoice detail table or add additional information from the order such as information generated by another plugin.
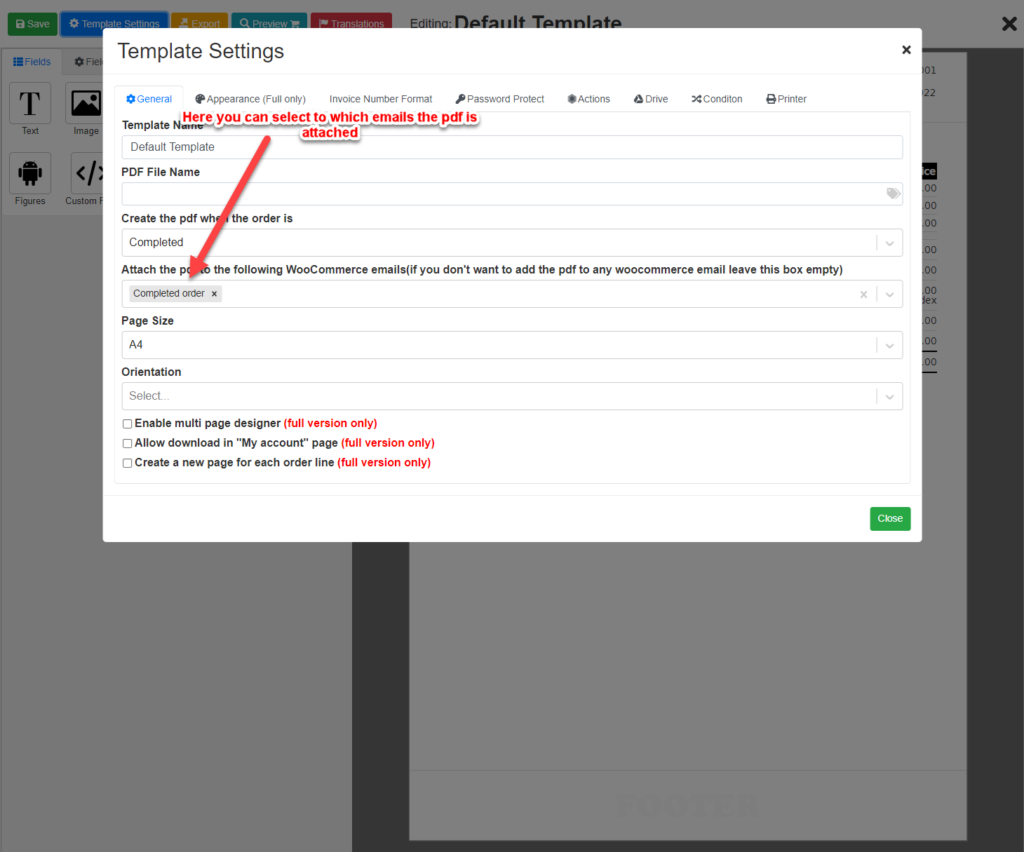
4.- Change the invoicing behavior
In the template settings button, you can change how the invoice behaves, for example, as explained previously the invoice will be automatically attached to the “Completed Order” email, but you could change it to be attached to another order email or not be attached to any WooCommerce Email (you could still send it manually inside the order page)
Creating a pdf Packing Slip
The process of creating a packing slip is the same as creating an invoice (or any other pdf). The main difference is what content the pdf will have and to which person we send the pdf.
Changing the content of our pdf to create a packing slip
When the plugin is installed for the first time it automatically will create an invoice template but you could delete that (or create a new one) and select the packing slip
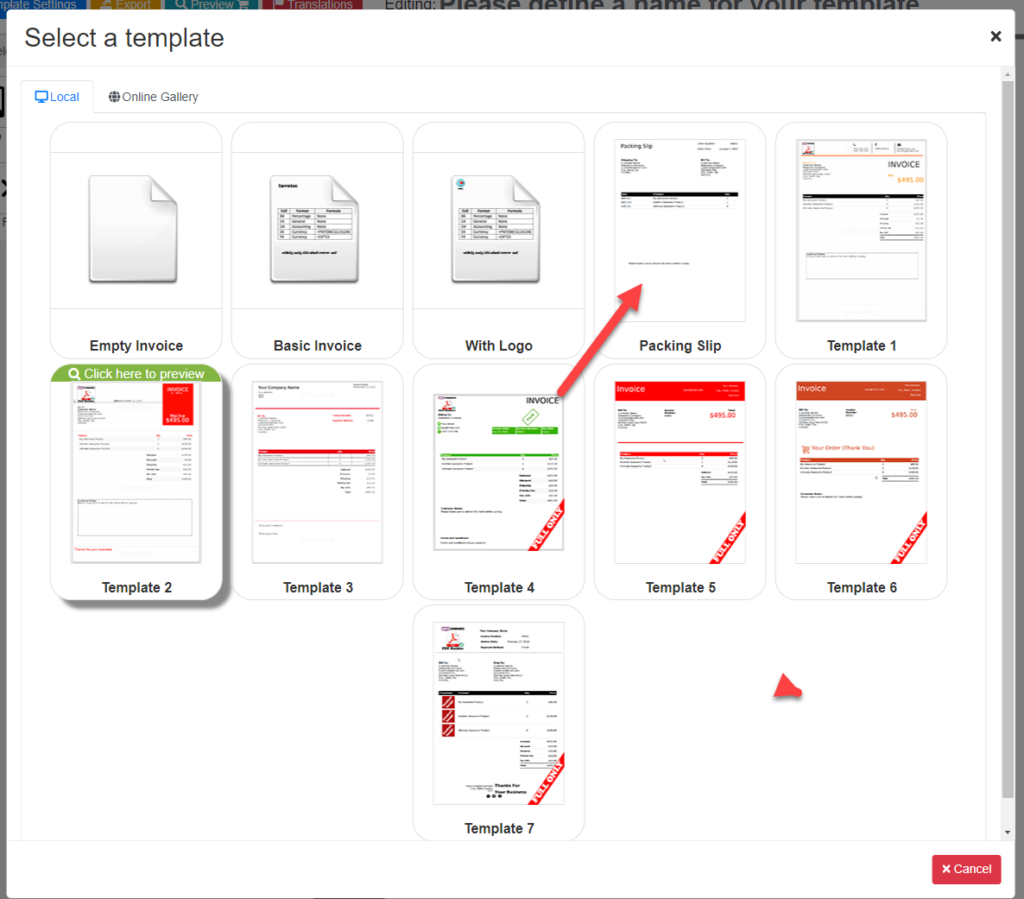
Or you could go to the demo site and download a different design like this one
If you want, you could customize the current layout and add the information that you need. For a packing slip. You most likely will want to change the columns of the table and the person that receives the packing slip.
Customizing the PDF Packing Slip
Customizing the columns
Changing the packing slip table is pretty easy. All you need to do is click on the table to bring up its settings.

The first thing you will want to do is change the columns. For example, for a packing slip, you probably don’t want to show the price of each product but you will want to show the SKU or product weight.
Click on “Add new column” to add more columns to your table
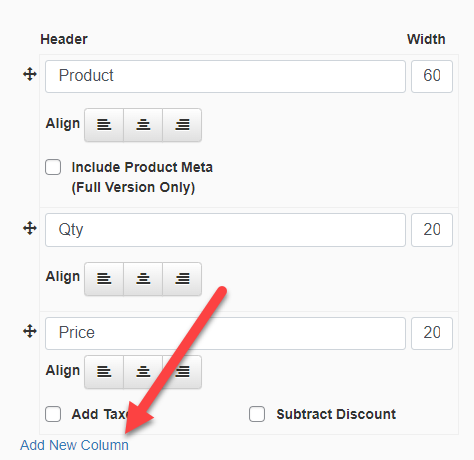
You can also configure the alignment of each column. Also, some columns have special settings. For example, the price has settings that let you add the taxes or subtract the discounted quantity from its price.

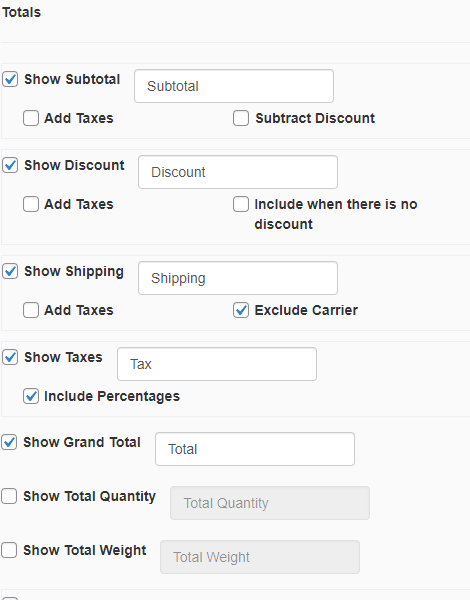
Customizing the subtotals
Now that your packing slip shows the columns you want, you would also want to change the subtotals. For example, probably you will want to remove the total price and instead show the total weight.
To customize the subtotals of your pdf go to the ‘Totals’ section
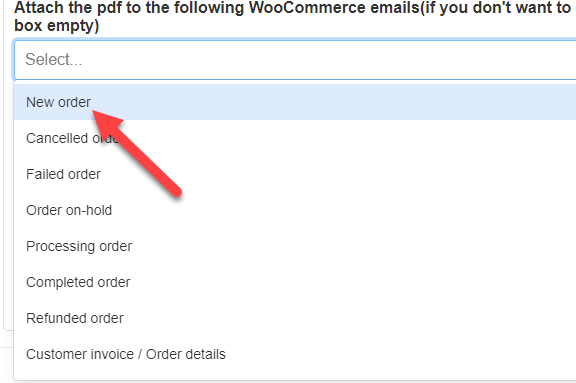
Attaching the pdf to a different WooCommerce Email
By default, the pdf is going to be attached to the “Completed Order” email but under template settings, you can change this. For a packing slip, you most likely want to attach the pdf to the “New Order” email sent to your site admin.
Here you can add or remove subtotals, change its title or even do special stuff like adding taxes or removing discounts.
Viewing the pdf invoices & packing slips in the WooCommerce dashboard or resending them through email
You can also view your created pdf in the order dashboard

Here you can view, delete, and print the pdf.
Displaying information from another plugin
One of the most frequent questions is “I have plugin x can I display y in my invoice” and the answer is “ABSOLUTELY!”. You not only can show this information but you can do it without coding a thing! You can use our custom field wizard which can scan your orders and you just need to tell him what information you want to display. The custom field wizard will do the rest for you.
Once the wizard creates the field that you need you can add it anywhere, you could place it as a new column in your invoice/packing slip table or another area of your pdf.
Conclusion
As you can see the plugin is very customizable and you are not restricted to creating pdf invoices & packing slips, you can also create gift cards, certificates, or payment documents. You could create your pdf design from scratch but if you want to save time you could pick one from the demo site: https://wooinvoice.rednao.com/woocommerce-invoice-builder-demos/
Want to learn more?
Check these tutorials:
Top 5 teaks you will want to do to your pdf invoice
How to send customer invoice in WooCommerce