The invoice builder already comes bundled with a bunch of fields that you can pick from but you can create your own if those fields are not enough. If you want to create something more advance like a table that display your customer order history or a field that gets the order date and add two days to it (maybe you want to use that as the ‘shipping date’?) you need to use custom fields. In this tutorial i am going to show you how to do a very basic custom field which will show the current logged in user name in the invoice. In future tutorials i am going to show you how to do more advanced fields. So lets start =).
Creating or Editing a Custom Field
Important: The custom fields are a very powerful feature that let you do almost anything like contacting other servers or querying your site’s database so only admins are alowed to edit or create them.
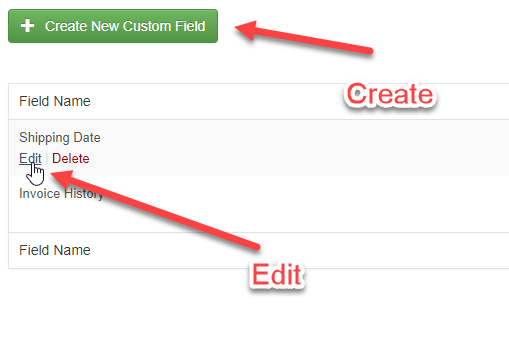
1.- Open the custom fields builder:

2.- Select the custom field that you want to edit or create a new one.
The Custom Field Designer
The custom field designer consist of two main parts:
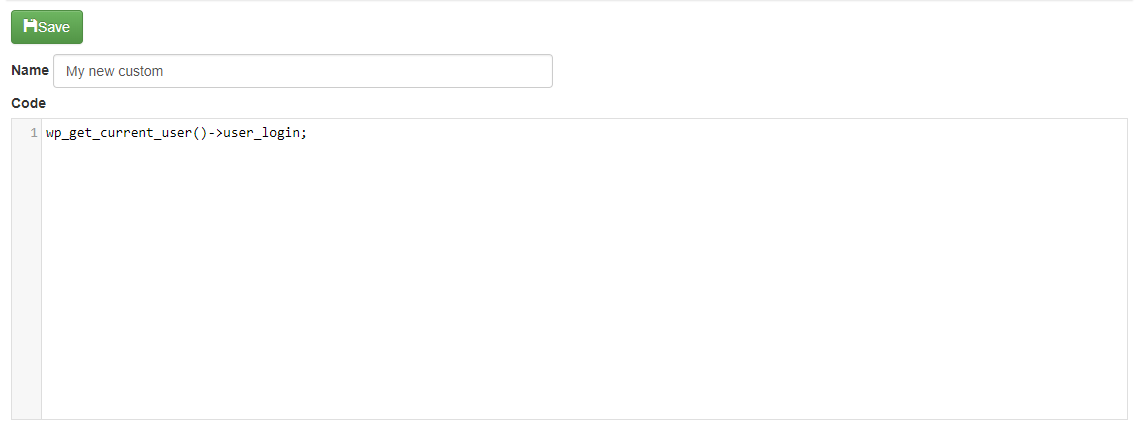
Name: The name of your custom field, this name is going to be used in the invoice designer.
Code: Here you can put the code of your custom field, this code has to be done using PHP and every sentence must end with a semi colon.
In the screenshot above i am getting the user data using wp_get_current_user() and then i am getting the user name using ->user_login, again, this need to be done with PHP.
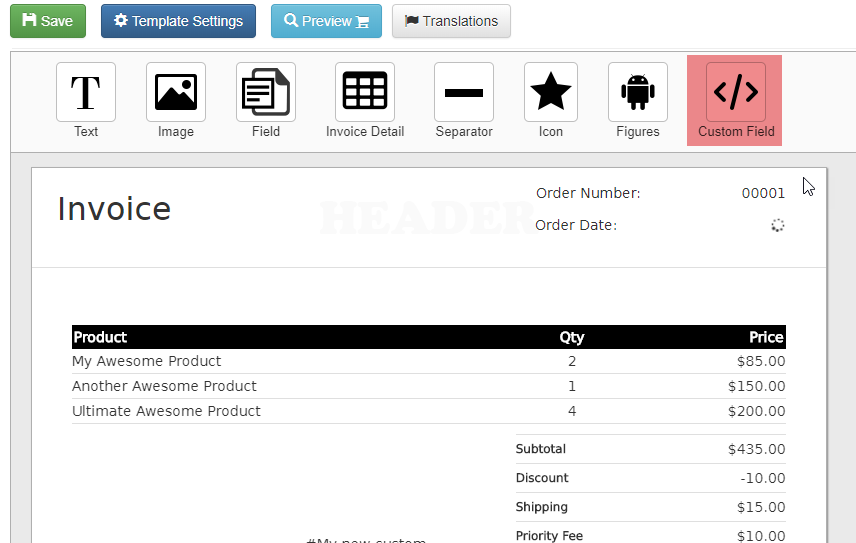
Using a custom field in an invoice
Now that you have your custom field all you need to do is drop a ‘Custom Field’ item in your invoice
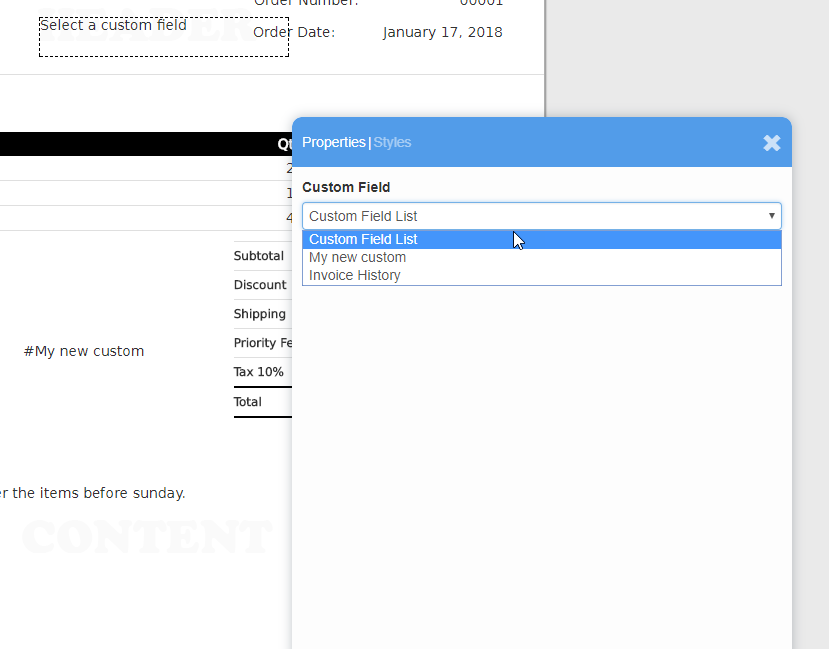
Then just click in the new item and select the custom field that you want to use =)
But what can i do if i don’t know PHP
Well, first of all i will be posting more useful snipets so keep checking this site, you might find the sniped that you need or if you don’t find it let me know =).