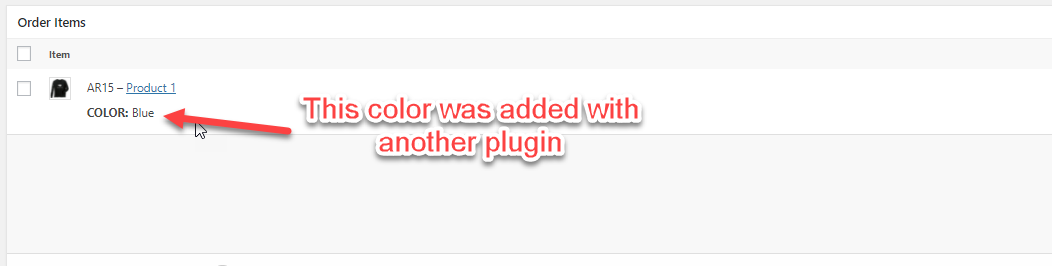
The plugin comes packed with all the columns that you will generally need, but sometimes you might want to add a different information. For example, you might have a plugin that adds additional information to each item purchased and you might want to display that information in your invoice.
Adding this information can be easily done using ‘Custom Fields’ and in this tutorial i am going to show you how to do it. Please have in mind that custom fields are only supported in the full version (that you can get here)
To add a custom field to your invoice you will need to do two things:
- Create the custom field
- Add the custom field to your table
Creating a custom field
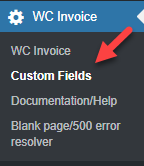
To create a custom field click in ‘Custom Field’ and then in ‘Create New Custom Field’
Here you will find three boxes:
- Name: The name of your custom field, for this tutorial, i will name my custom field ‘Color’
- Type: The type of custom field that you want to create, since we want to create a new column for our invoice table we should select ‘Table Column Field’
- Code: The code of your custom field, this can be practially any type of PHP. In this demostration i want to display the ‘COLOR’ attribute of each purchased item so my code should look like this: return $item[‘COLOR’];
At the end my custom code should look like this:
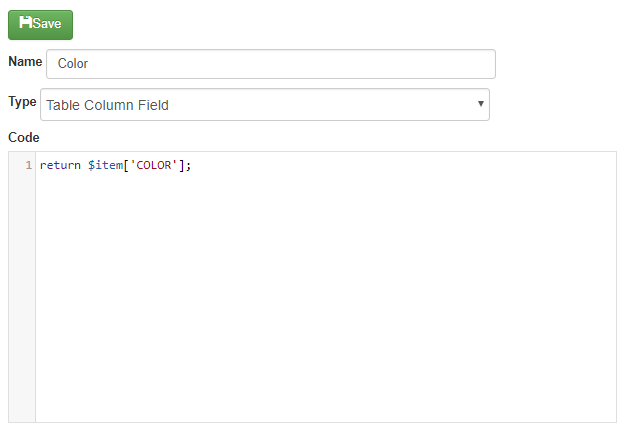
And that’s it! Now i have a custom field that i can add to my invoice table.
Adding a custom field to a table
To add my custom field i just need to add it to the table like any other field.
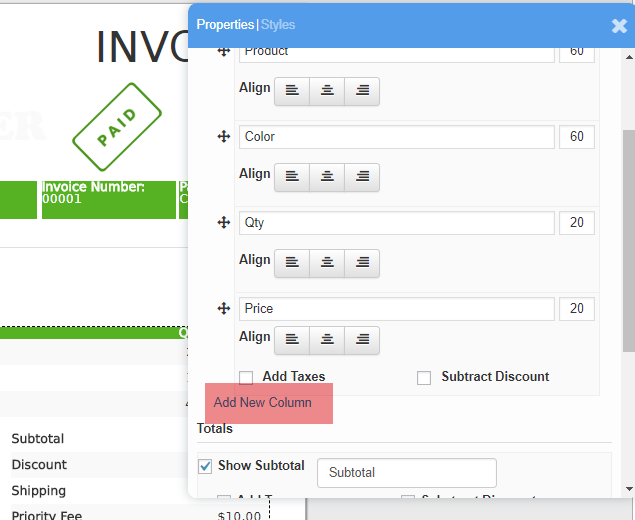
- Select the table and click in ‘Add New Column’

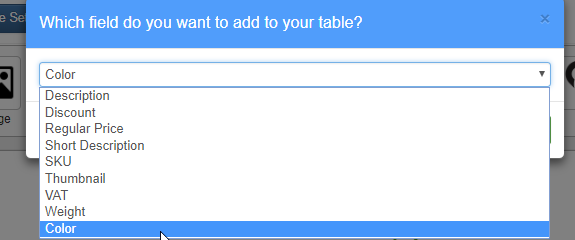
- Select my custom column (Which i named ‘Color’) and click in ‘Add Column’

- Format the column as you want it (like any other column).
- Thats it! Now my invoice will use my new column.