In previous tutorials, you learned how to create pdf invoices with this plugin. But you can create any type of pdf like Gift Cards, Certificates, or Credit Notes. In this tutorial, we are going to focus on how to create a WooCommerce credit note.
Prerequisites
1.- A site with WooCommerce. This plugin works for WooCommerce so you need your site already set up and running with it.
2.- WooCommerce PDF Invoice Builder. This is a tutorial for WooCommerce PDF Invoice Builder so you also need it on your site.
Creating the credit note template
There are many different ways to create a credit note, you can add individual information of the order (like the order number or total amount refunded) using the Field block
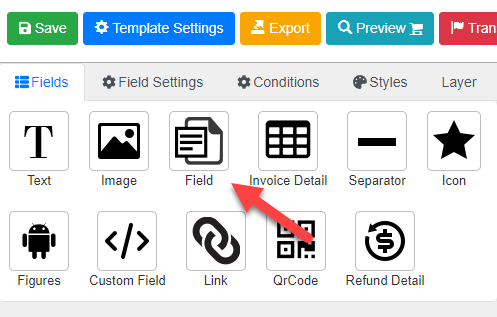
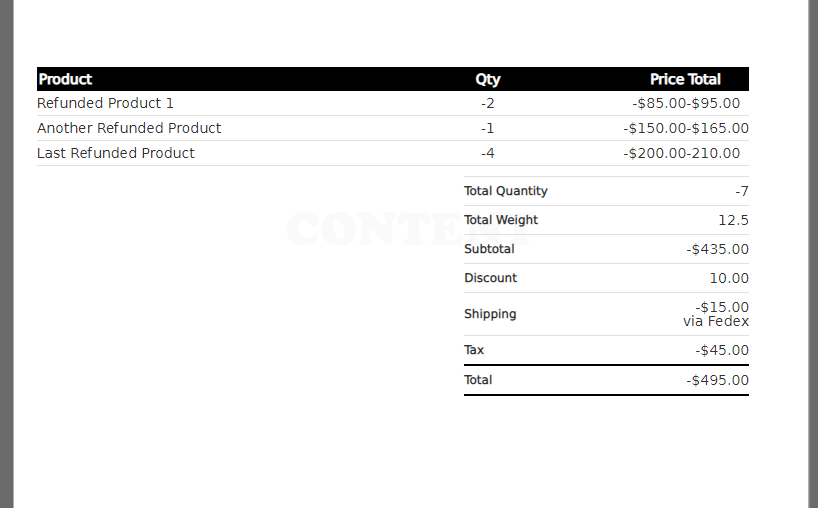
For a credit option you generally just want to display the items, amounts, and quantities that got refunded so for that you can use the “Refund Detail” table
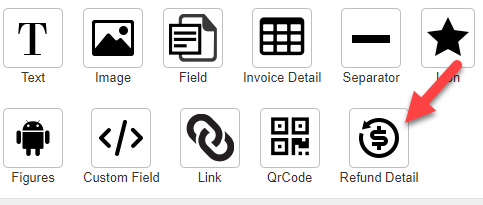
This table works similarly to the “Invoice Detail” table in which it adds all the items of the order in a customizable table but the refund detail table will show only the refunded items. Also, if for example the customer purchases two items of one product and only one of them was refunded this table will show only the quantity refunded.
Customizing the refund detail table
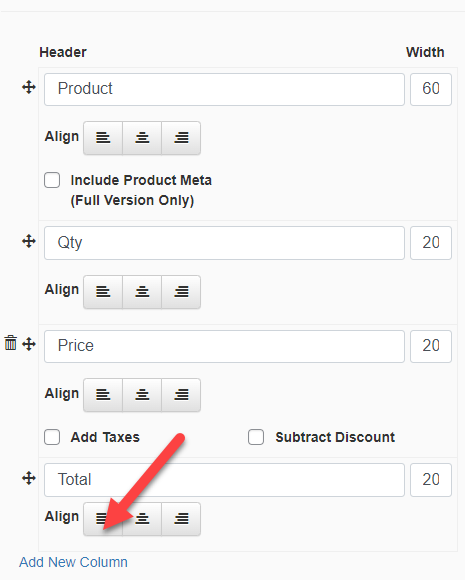
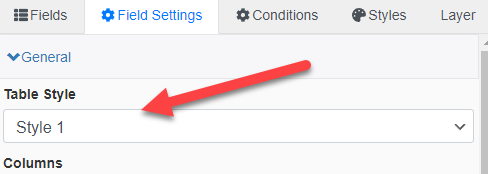
Depending on your company you might want to add different columns to your table, maybe you want to include the refunded quantity, the sku of each refunded item or the total amount refunded. To customize the table you can select it in the designer and define which columns you want to show
Also if you don’t like the standard appearance of the table you can pick another one in the “Table Style” setting
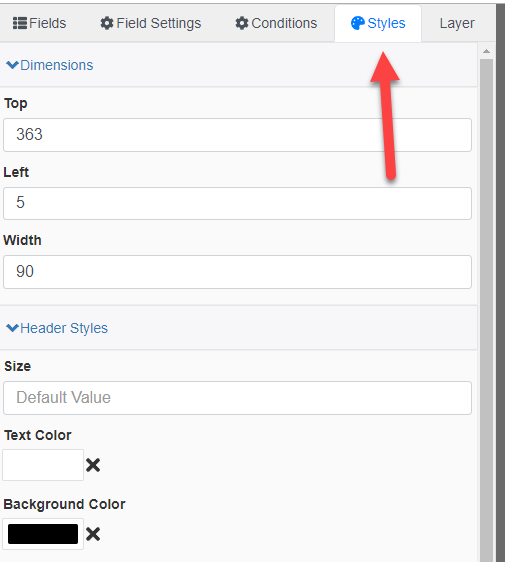
Or you can change the styles yourself (like row colors or font) using the style editor
Creating the credit note automatically
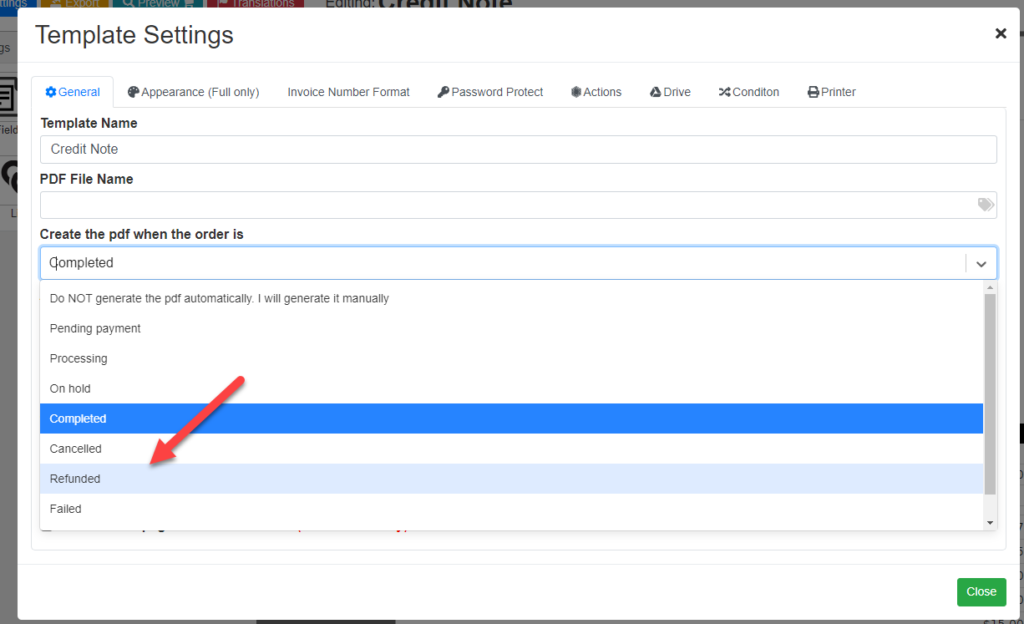
Once you finish creating your credit note template you can configure the credit note to be generated automatically when the order is marked as refunded. To do so follow these steps:
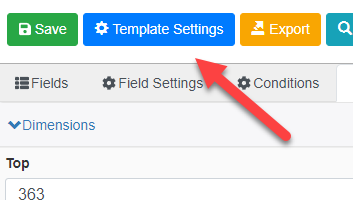
1.- Go to template settings
In the setting “Create the pdf when the order is” select “Refunded”
Emailing the credit note to your customers
You can also attach the pdf to the “Order Refunded” email that your customers receive:
1.- Click again in template settings
2.- In the setting “Attach the pdf to the following WooCommerce emails” select “Refunded order”

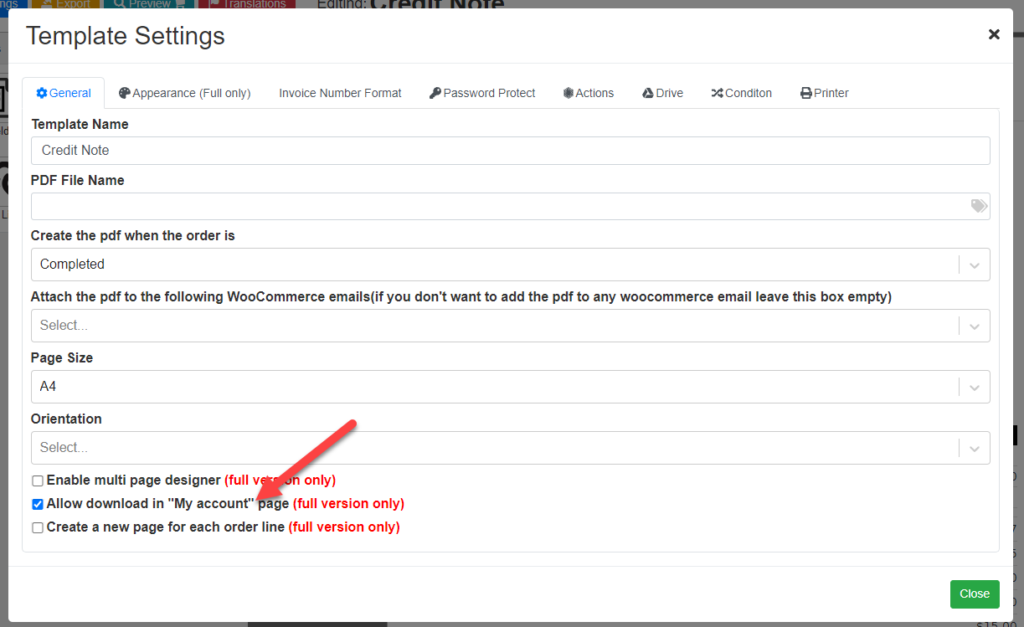
Including the credit note in the user account
Lastly, you might also want to let your user download the credit note directly into their account. To do so once again open the template settings and check the box “Allow download in My account page”
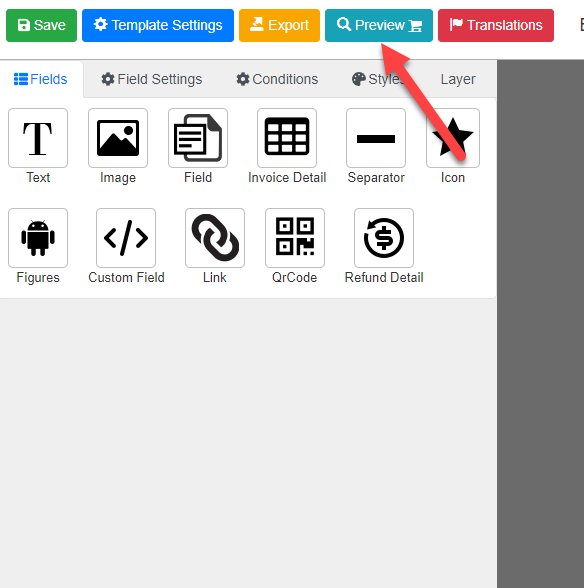
Previewing your template
While designing your template you can see how it looks using the preview button
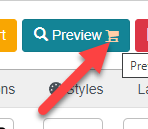
Previewing with real data
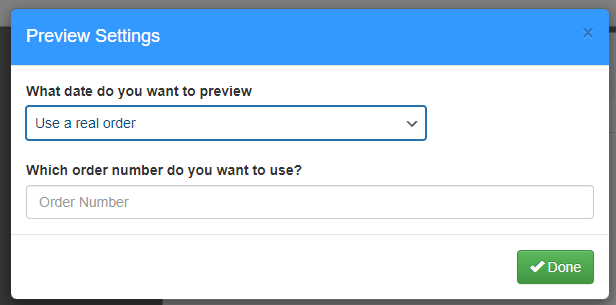
You can also click on the small icon to the right of the preview button to bring up the preview settings
In these settings, you can configure the preview to use a real order instead of fake data
Creating a refund
Lastly, in order to test your pdf with a real order you first need to create a refund, in case you don’t know how to create it continue reading if you already know how to create partial and full refunds you can skip this section.
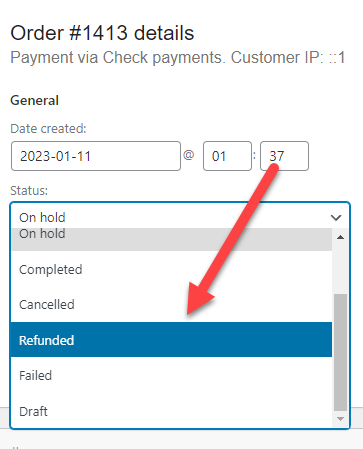
Creating a full refund
Refunding the whole order is pretty easy all you need to do is open the order that you want to refund and change its status to “Refunded”
Doing this will mark the order as “Refunded” and will add a “Full refund” line to the order:
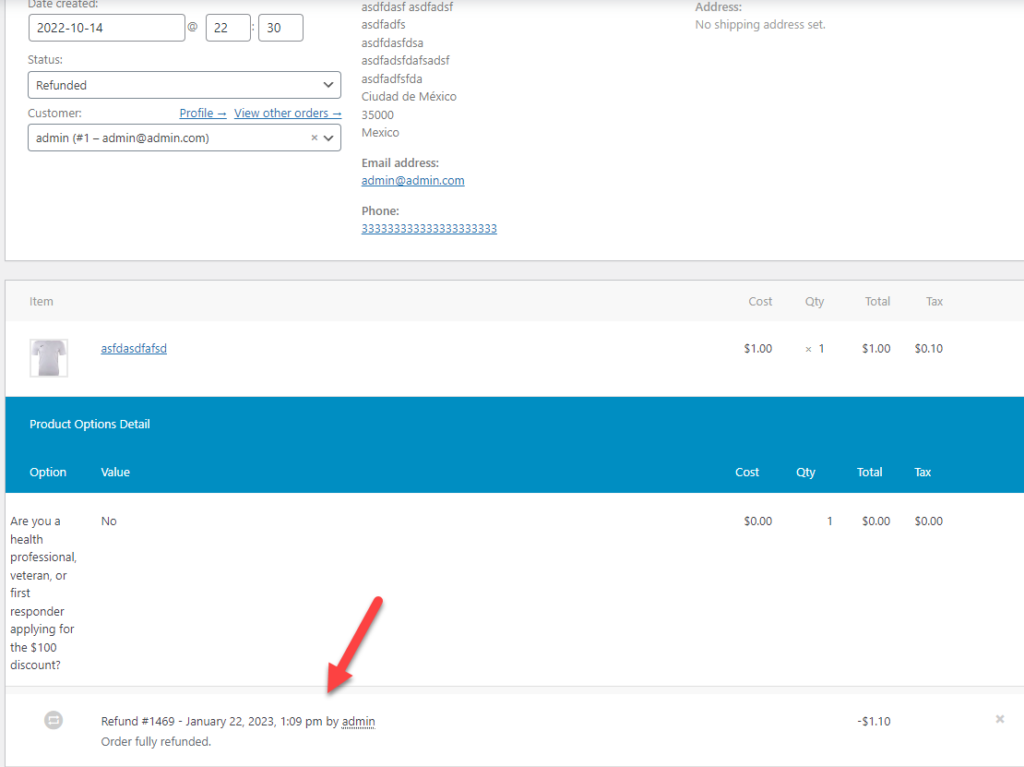
If you ever want to cancel this refund you will need to change the status of the order and also remove this line.
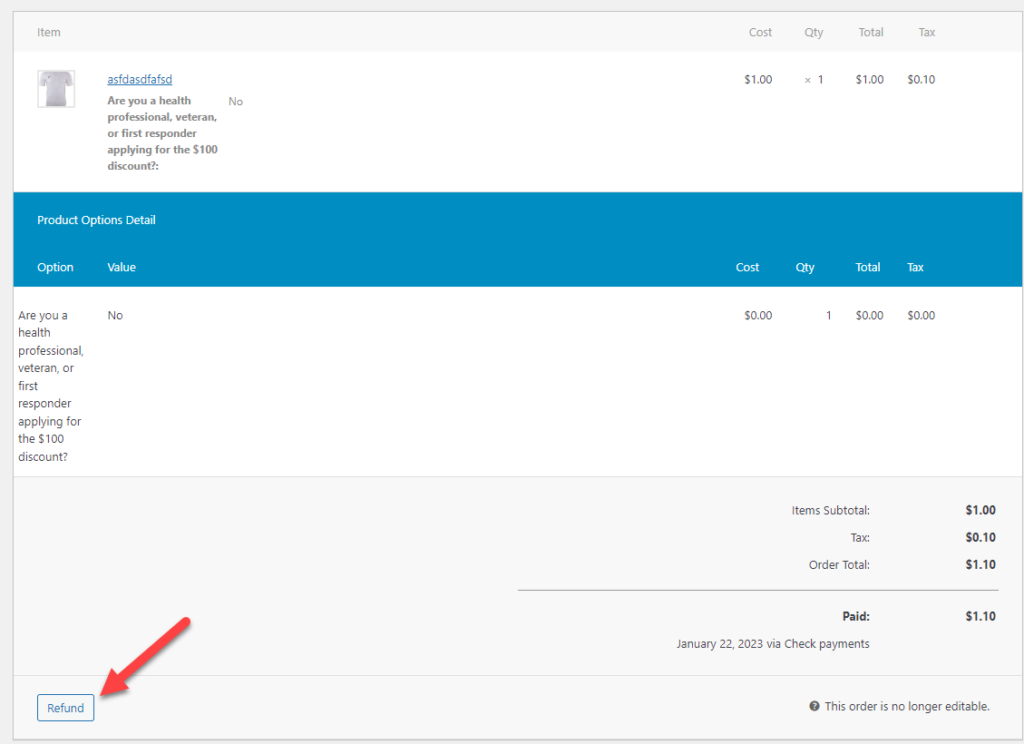
Creating a partial refund
Creating a partial refund is a little trickier but is still pretty easy, all you need to do is click on the “Refund” button
And define what you want to refund
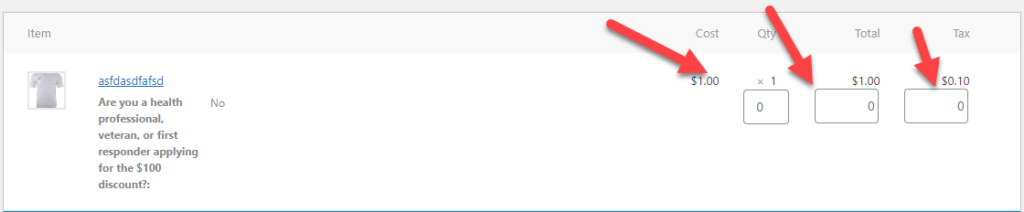
Important: Woocommerce will let you refund by quantity (items refunded) or amount. It is important to always refund by qty when possible. This way WooCommerce will know the amount that was refunded and the quantity. If you decide to refund by amount WooCommerce will only know how much was refunded but not the quantity which will affect your WooCommerce credit note.
Conclusion
Creating a WooCommerce credit note and automatically sending it to your customers is pretty easy and just requires a few clicks. You can create a lot more complex templates if you need though, like gift cards that are only created when a specific product is purchased or templates that display information about other plugins.
If you have any questions or suggestions please let us know