One of the best features of this plugin is how easy is to create custom templates. The most frequent use of this is to create a WooCommerce custom invoice template but you can make anything, like shipping/credit notes, gift cards packing slips, etc. Since invoice templates are the most common we are going to assume that you want to customize an invoice template but this information can work with any kind of template.
While most of the other plugins will require you to do developer stuff like editing PHP or HTML files. With this plugin, all you need to do is use our drag-and-drop designer to edit or create your template. No coding or programming skill is required.
If you are just starting you might want to take a look at this tutorial where you will learn the basics (like how to install the plugin and how to create your first template).
In this tutorial, we are going to assume that you already are familiar with the basics and we are just going to cover the most frequent customizations that you might want to do.
Adding order information to your custom invoice template
Depending on your company and your preferences you might want to include a different set of information in your template, for example, you might want to show the customer notes in it or you might want to display the totals and the taxes separately.
There are two main places where you will want to add information, inside the order details table or outside it:
Adding invoice information outside the order details table
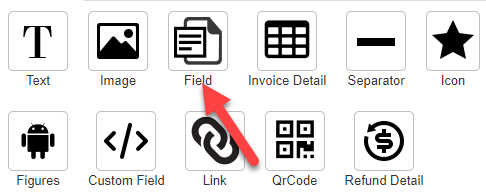
At the time of this writing, there are 4 blocks that will let you add invoice information:
- Field block
- Text block
- QRCode block
- Custom field block
Each of them adds information in different ways which will be covered next
Using the field block
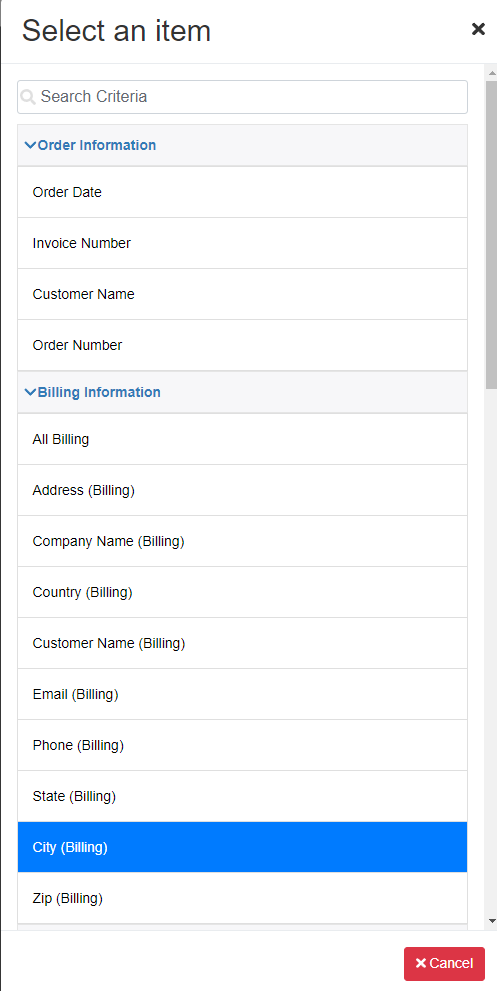
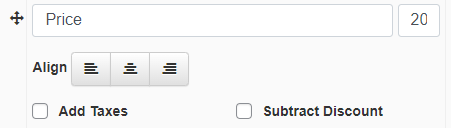
The field block is the easiest of them. You just need to pick what kind of data you want to show (for example, the invoice date) and the plugin will add it along with an optional label
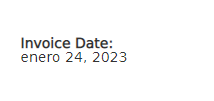
You can configure the label of the field and also whether you want it to be shown vertically or horizontally
Using the Text block
The text block is mainly used to display fixed text but you can also add order information with it. To do so add a text block, go to its settings, and click “Add Field”
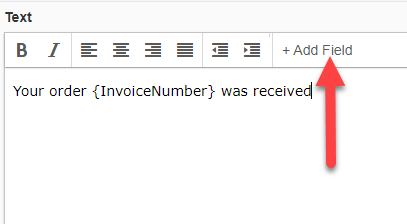
A pop-up will show up where you can pick the field that you want to add. This pop-up will also include custom fields (explained later in this tutorial) so you can also include information from other plugins or basically any kind of information that you want.
Using the QRCode block
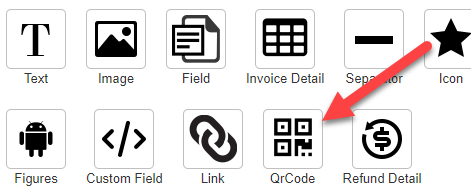
The QR code field will add a QR code to your pdf. The content of this QR can be a fixed text but similar to the text field, you can also add order information
Using the Custom field block
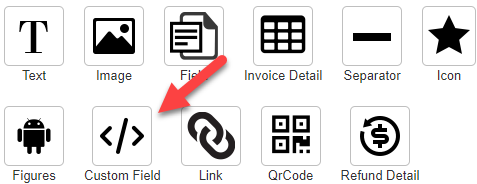
This field is a little more complex but is the most flexible and the one that will help you show more advanced information like info saved by other plugins. You can add this block as you did with any other one, you just need to drag it into your invoice template.
This block requires an additional setup. You will also need to create a custom field code. Don’t worry you won’t need to code anything yourself. There is a wizard that can do it for you which will be covered next.
Integrating your WooCommerce custom invoice template with other plugins
To show information from other plugins in your custom template you need to create a custom field. To do so follow these steps:
1.- Go to “Custom Fields”
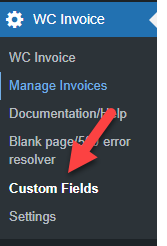
2.- Click on “Create new custom field”

3.- Create your new custom field.
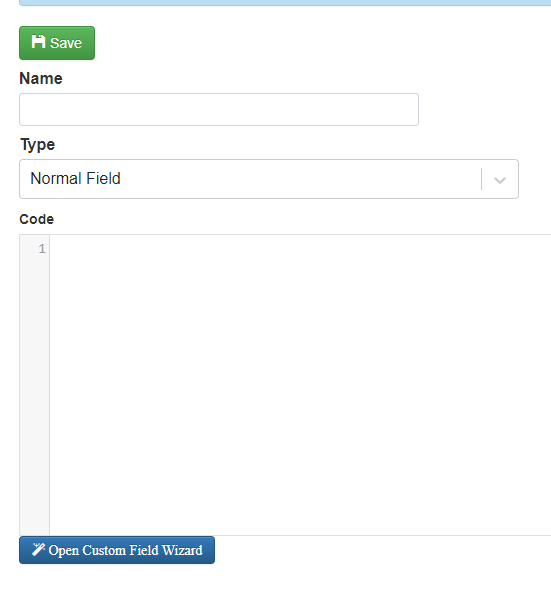
This page has 3 main sections
Name: You define the name of your custom field here. This name is the one that you are going to see in the template designer
Type: The type of custom field that you are going to create. The type defines where you are going to be able to add your custom field, there are 4 types:
- Normal Field: Added outside the order details table
- Table Column Field: Added as a new column of your order detail table
- Table Row: Added as an entire new row of your order detail table
- Subtotal Row: Added as a sub-total row in your order detail table
Code: In here you define the code that you want your custom field to use, this code needs to be done using the PHP language. But before you start thinking “didn’t you say that no coding skills were required” there is a wizard that will help you create this custom field, you don’t need to code or know about coding at all =).
There is already a tutorial explaining how to use the wizard so to keep this tutorial short (or at least as short as I can) I won’t cover how to use it here, you can check the tutorial here
Customizing the orders table
You might want to do many changes to your invoice detail table depending on your organization, for example, you might want to display a column with only the taxes or you might want to also display the SKU or the total weight of an item. Heck, you might even want to show only specific rows, like rows from a specific product or only the quantities refunded.
All of this (and much more) is covered in this section.
Customizing columns
Under the “Columns” section of the table settings, you can customize the position of each column, its header, and its size
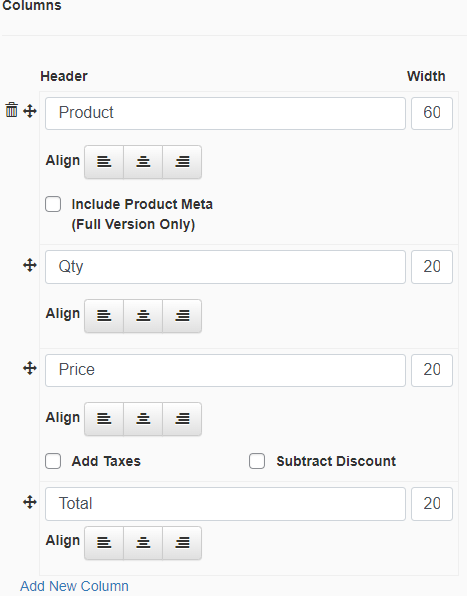
You can also add new columns by clicking the “Add a new column” link
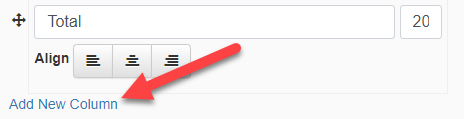
When you click this link it will bring the column picker where you can select what column you want to add
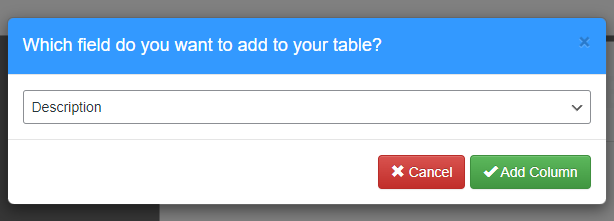
This pop-up will also show the columns created with custom fields (as explained in the previous section) so you can create columns with information about other plugins
Also, some columns have additional options, for example, the price column let you decide if you want to include taxes or discounts in it.
Customizing subtotals
There is also a subtotal section where you can define which subtotals you want to add.
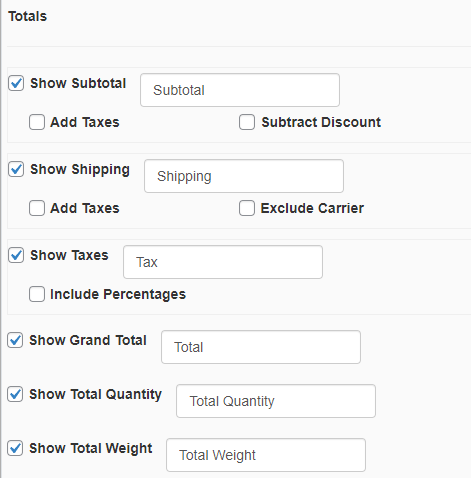
Some subtotals have additional settings, for example, the Shipping subtotal can be configured to include the taxes or display the carrier name.
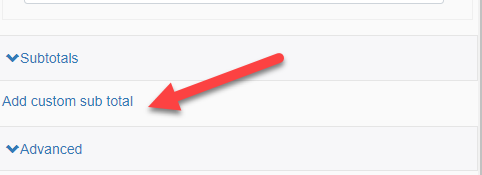
Adding custom subtotals
If you created a custom subtotal(as explained in the “Integrating your custom invoice template with other plugins” section). You can add it to your table by clicking on the “Add custom subtotal” link
Showing/hiding rows conditionally
There is also a condition tab where you can set up a condition to show or hide specific rows, for example, you might want to show only rows from specific products or that belong to a certain category.
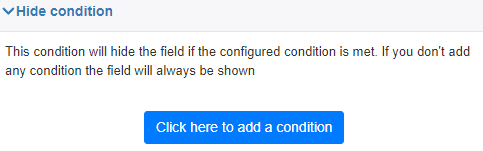
For more information about how to set up conditions please check this tutorial
Changing the appearance (colors, fonts, etc)
You might also want to change the font or colors of a specific element. To do so select the element that you want to customize and go to the styles tab.
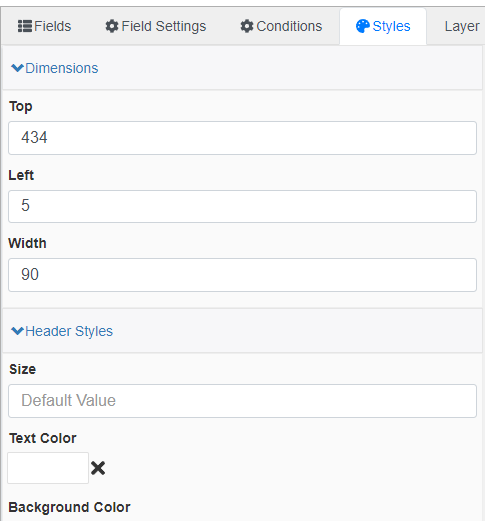
Here you can customize the appearance of each element (again no coding skills are required). Depending on the type of block you selected you will see different options here. For example, if you select a “Field” block you will see options to style the label or value but if you select a table you will see options to style the row or header of the table.
Automatically generate your custom invoice template
Now that you finished creating your WooCommerce custom invoice template. Do you want to generate your invoice manually for each order? I bet you don’t so to configure it to be created automatically go to the template settings and define when should be created.
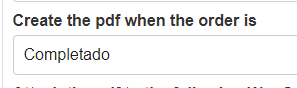
In the screenshot above I configured the pdf to be generated when the order reaches the “Complete” status.
Automatically emailing your custom invoice template
Additionally, you might also want to email the invoice automatically, to do so just configure the “Attach the pdf to the following WooCommerce emails” setting

Conclusion
You learned how easy is to create your WooCommerce custom invoice template. This is just the tip of the iceberg though there are A LOT more customizations that you can do, like customizing the invoice number, password protecting it, or even automatically printing it or sending it to google drive. All of this will be covered in other tutorials but if you have a question about something in particular please let us know.